A few years ago I took an enameling class. It’s been a while since I hauled out the stuff to work on it. I have some extra days in the studio in November and December, and I decided I’d use those days to brush up on some of the skills I hadn’t used recently.
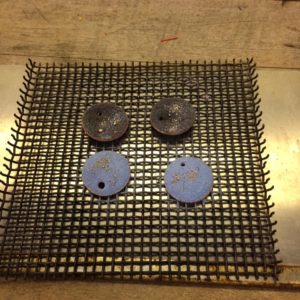
So this was enamel day. I cleaned up a bunch of copper disks that already had holes punched in them, and sifted some plain enamel powder on them after applying some adhesive fluid. Then for these earrings I added a sprinkle of some silver particles to give it a little more interest than just plain enamel.
These guys are ready to be fired.
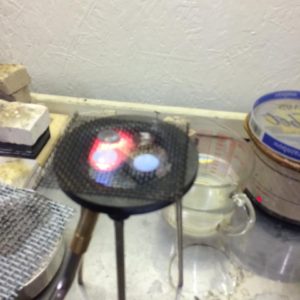
Next I picked up the screen (carefully!) and transferred to the top of the tripod I used for anything that needs to be fired from underneath. You don’t want to torch fire these from the top….the enamel powder will fly all over!
Time to torch. This doesn’t take long, and you look carefully for an orange-peel like texture to know when it’s done.
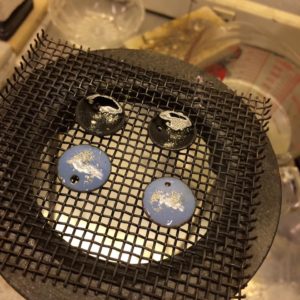
Ta da! All shiny goodness. The silver bits have melted just enough to be secured in the color.
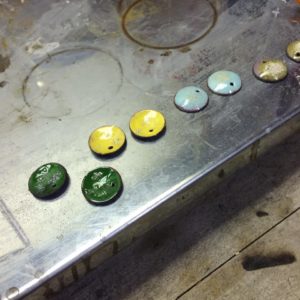
Here are the other colors that I enameled before the blue and black ones. I like to let them cool on the metal top of my bench – no quenching or pickle. Clean up the backs, and add a bit of maille to hang them from the ear wire!